Day 21: Mastering Docker Volumes
Feb 24, 2025
•12:28 AM GMT+8
Container Volumes
All data stored within Docker containers is ephemeral by default, which means that data is lost when the container stops or is removed. In order to ensure persistent storage, Docker provides volumes that allow data to be stored outside of the container's writable layer. Despite the container stopping, these volumes maintain data integrity, making them essential for databases and applications that require data retention.
Key characteristics of Docker Volumes:
- Persistent storage: Data remains available even after the container is removed.
- Efficient and optimized: Managed directly by Docker, ensuring better performance than traditional bind mounts.
- Easier backups and migrations: Volumes can be backed up or moved between environments.
Docker Volumes vs Bind Mounts
Docker provides two primary options for storing files on the host machine:
- Volumes: Managed directly by Docker and stored in
/var/lib/docker/volumes. Recommended for most use cases due to flexibility and performance. - Bind Mounts: Directly link a host directory to a container directory. Useful for development but can lead to permission issues and security concerns in production.
| Feature | Volumes | Bind Mounts |
| Managed by Docker | Yes | No |
| Storage Location | /var/lib/docker/volumes | Anywhere on the host system |
| Portability | High | Low |
| Security | More secure, isolated | Less secure, tied to host system |
| Use Case | Databases, application data | Accessing host files, development |
Tasks
Run MySQL with Bind Mount
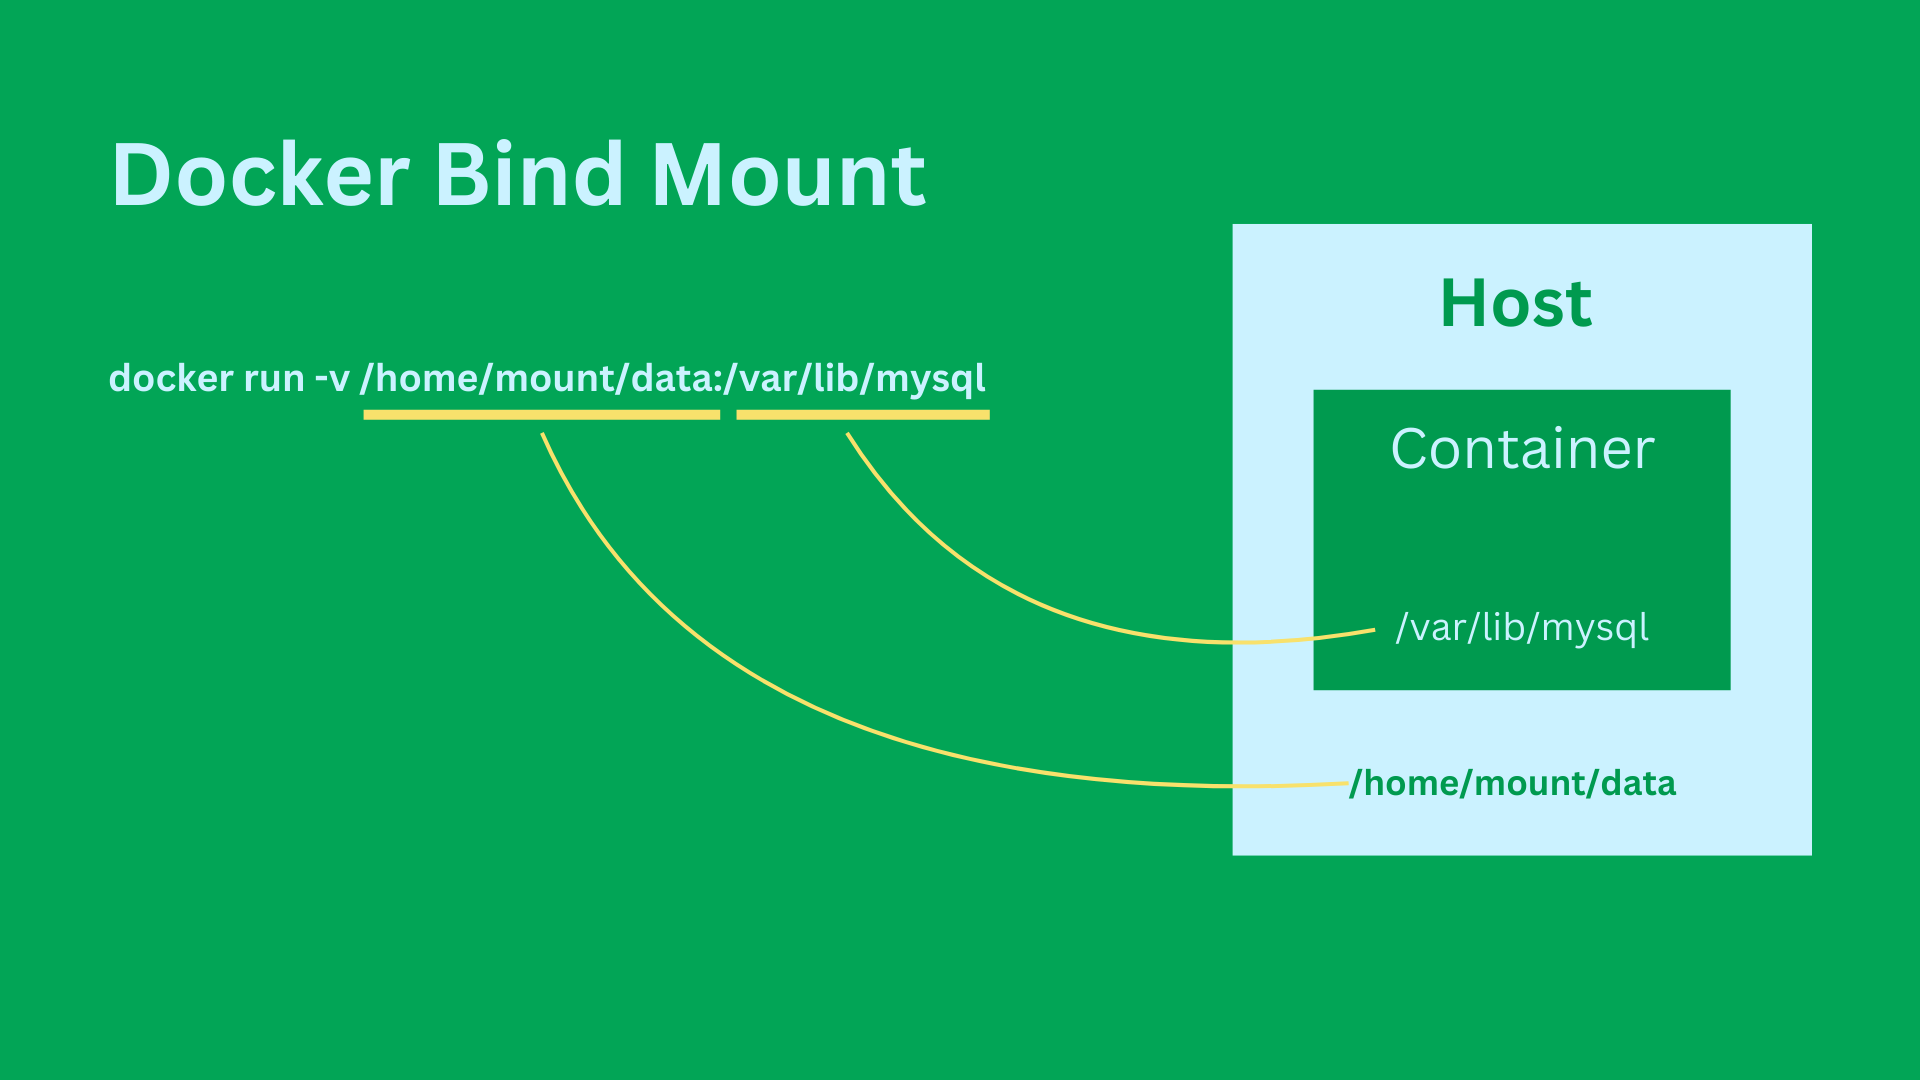
Bind mounts allow us to specify an exact host directory for storing container data. This is useful for development environments where we want full control over file storage.
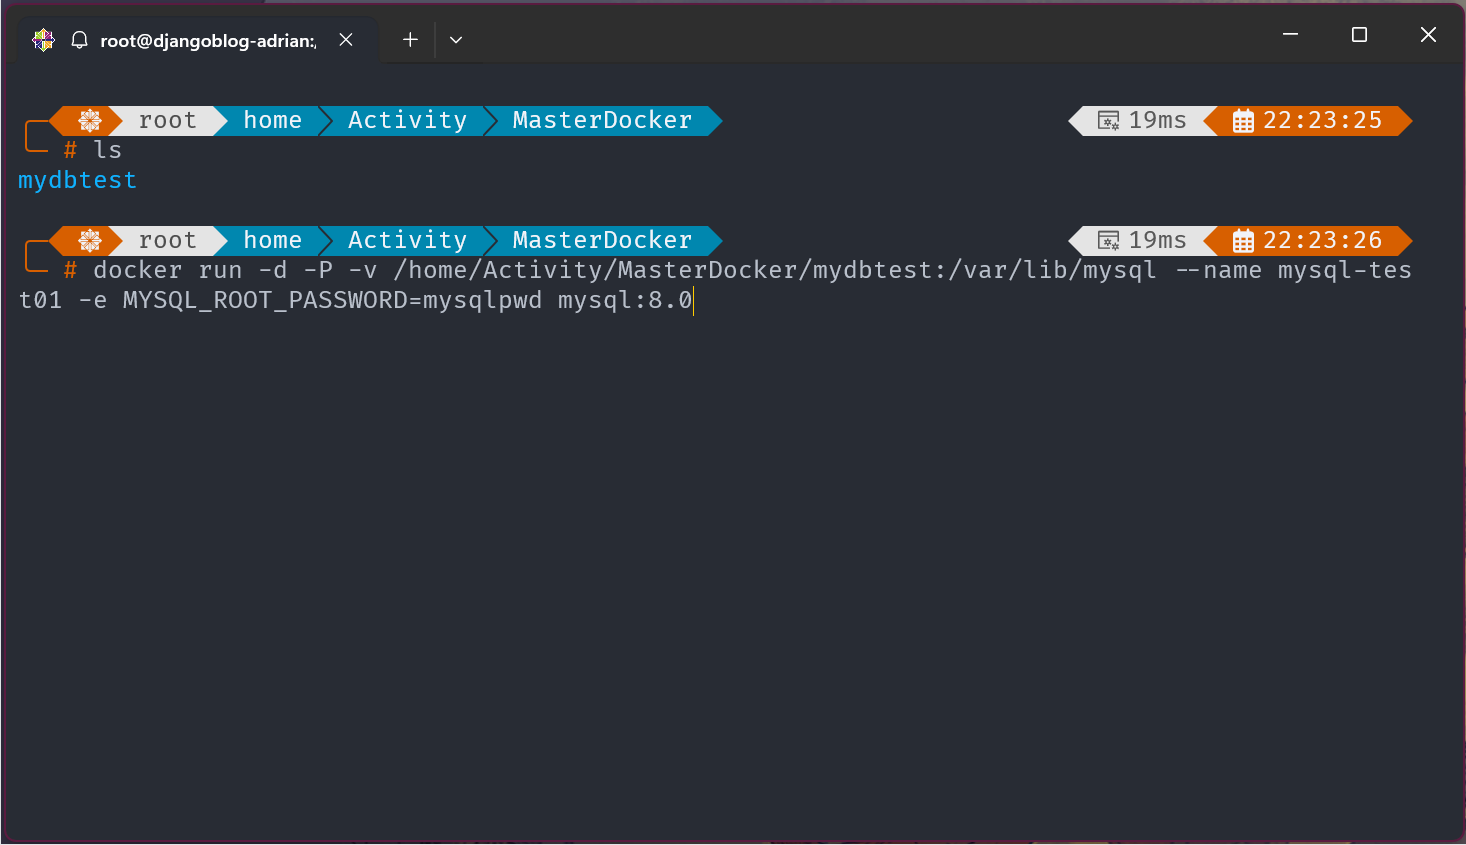
Run the following command to create a MySQL container with a bind mount:
# Run MySQL with Bind Mount
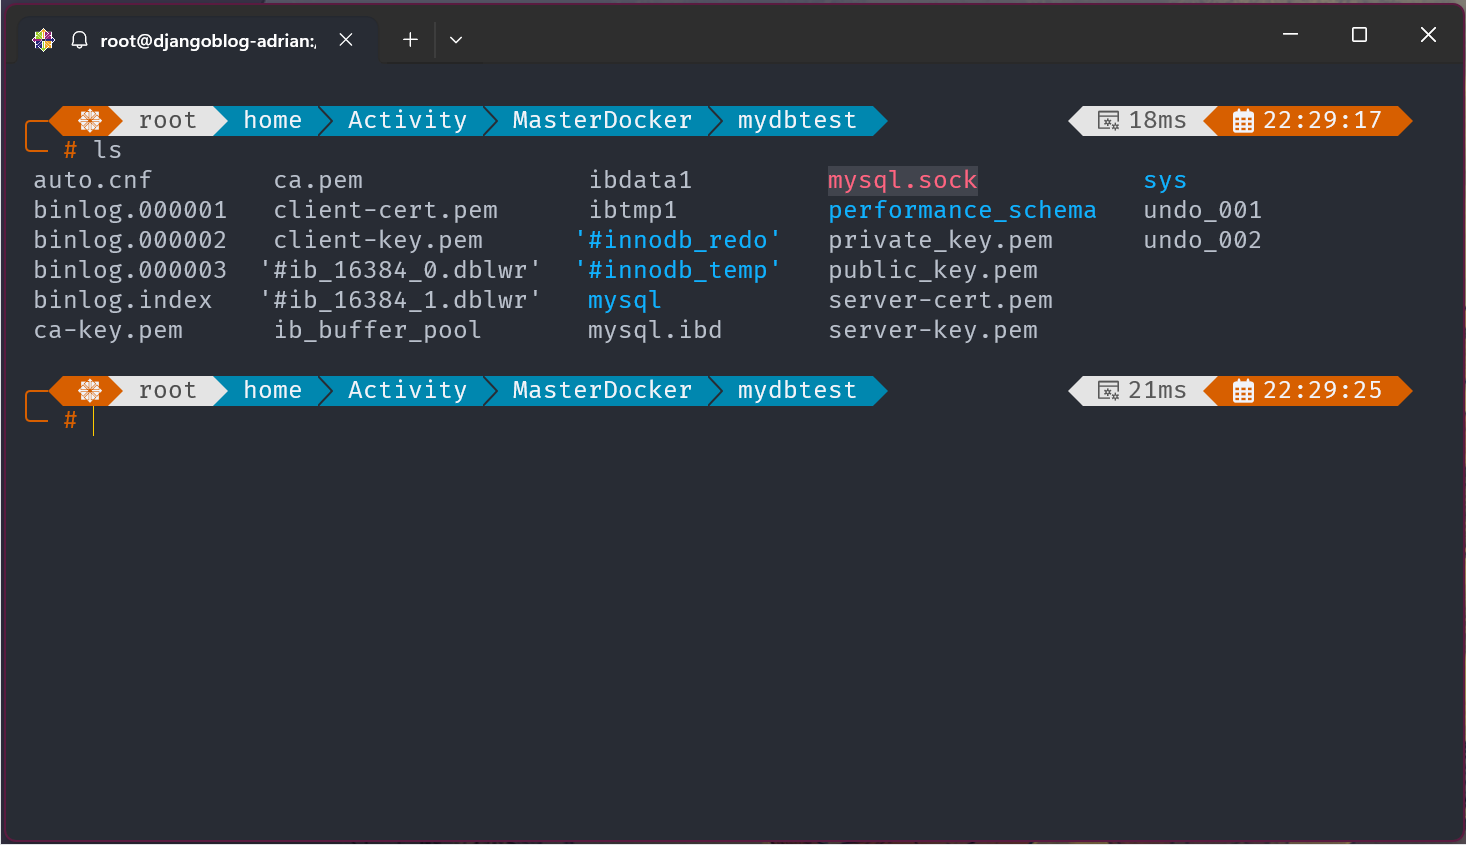
docker run -d -P -v /home/Activity/MasterDocker/mydbtest:/var/lib/mysql --name mysql-test01 -e MYSQL_ROOT_PASSWORD=mysqlpwd mysql:8.0
The following commands above, explains Maps the host directory /home/ubuntu/MasterDocker/mydbtest to the MySQL data directory inside the container.
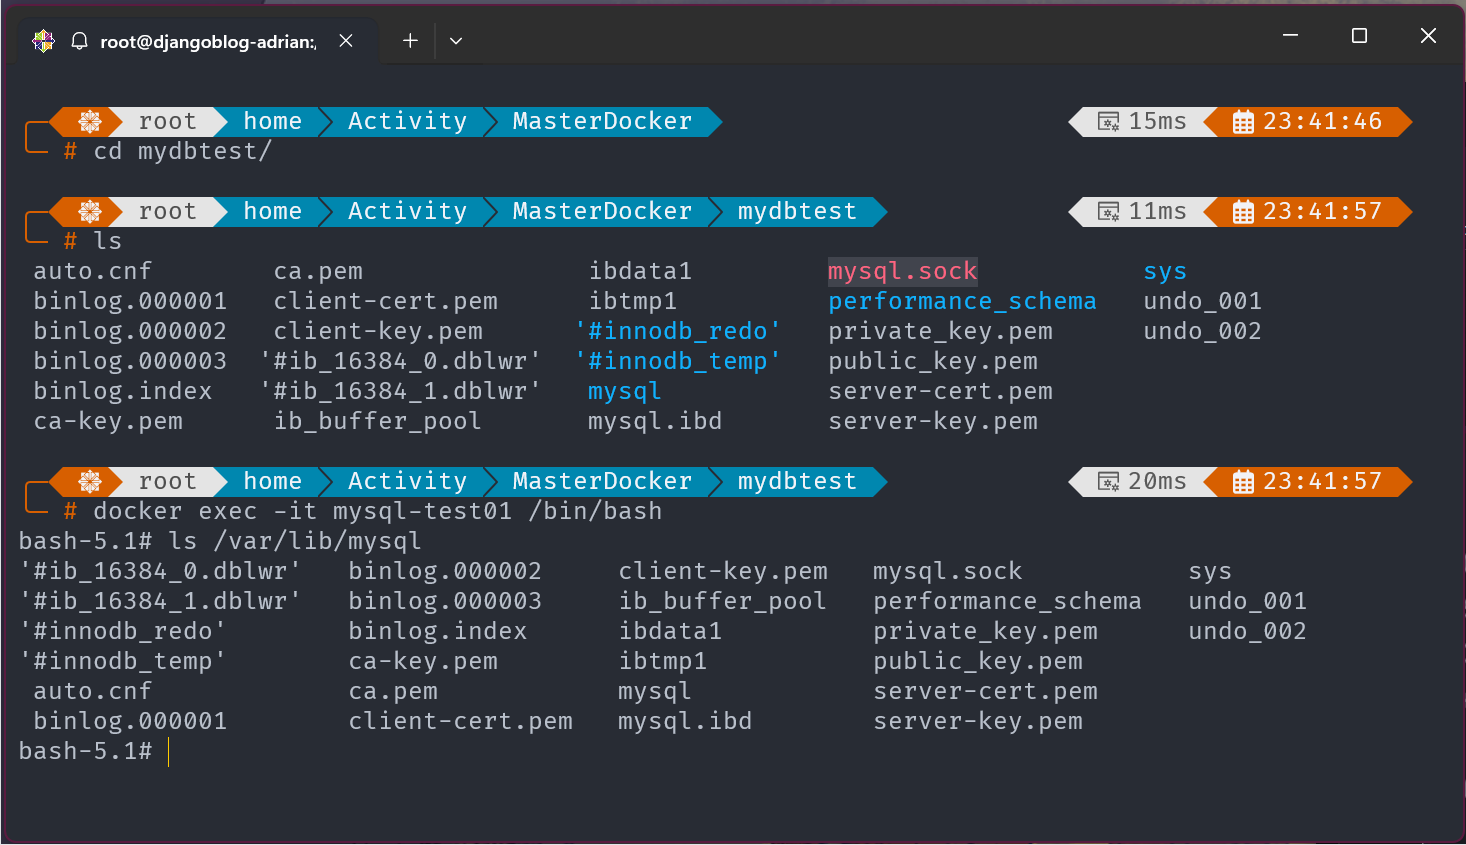
Check the contents of volumes inside MySQL Container:
# Access MySQL Container
docker exec -it mysql-test01 /bin/bash

# Check the data contents of MySQL
ls -lrth /var/lib/mysql
In this command explain that to check inside the MySQL container. After accessing the container navigate the MySQL data.
Verify Bind Mount in Docker Inspect:
# Verify the mount type
docker inspect mysql-test01

# Tip, we can use this alternative verification approach
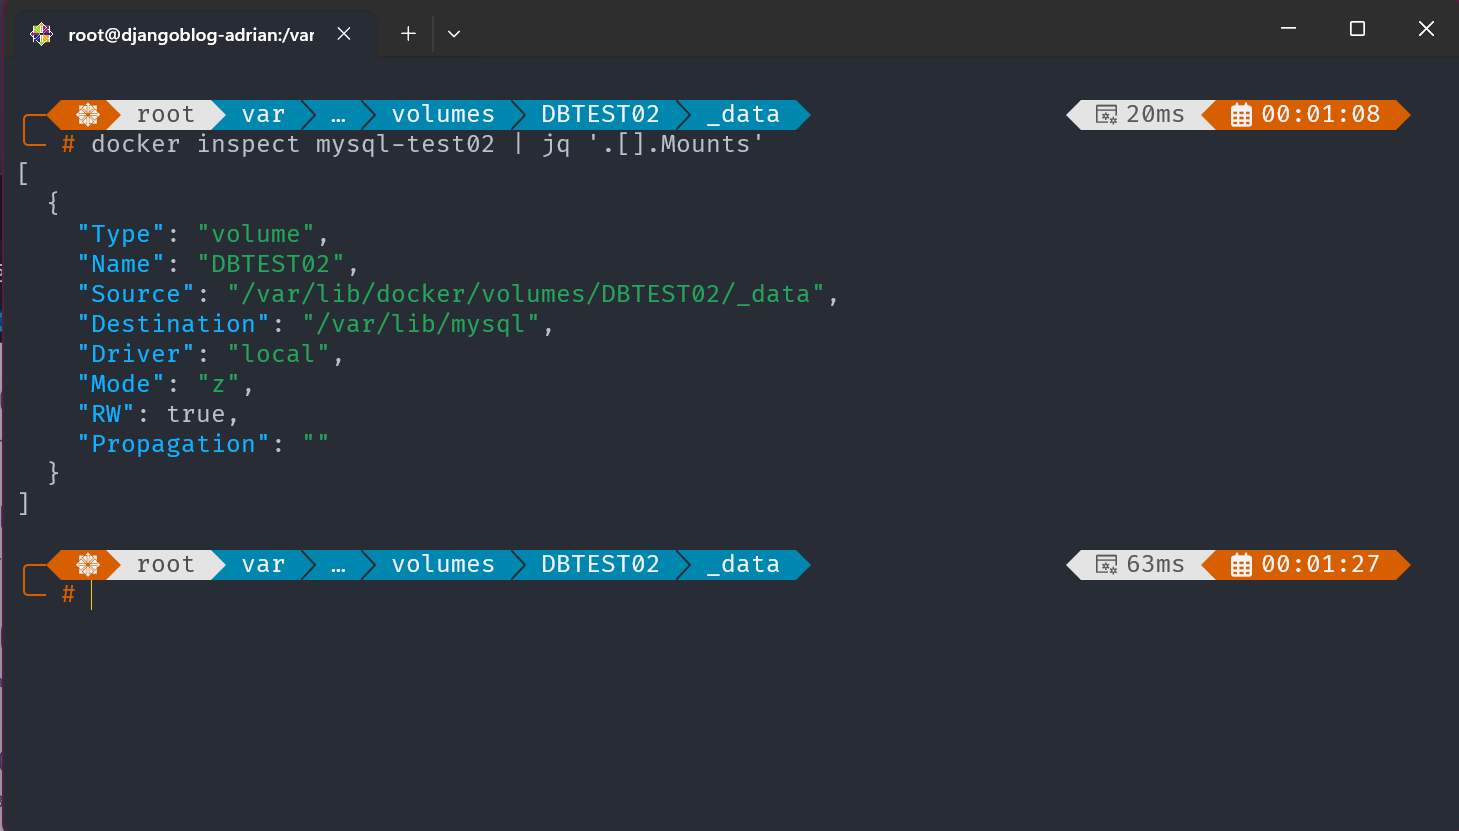
docker inspect mysql-test01 | jq '.[].Mounts'
Using the docker inspect command it can identify which Type of volumes you configured.
Run MySQL with Volume Name Mount
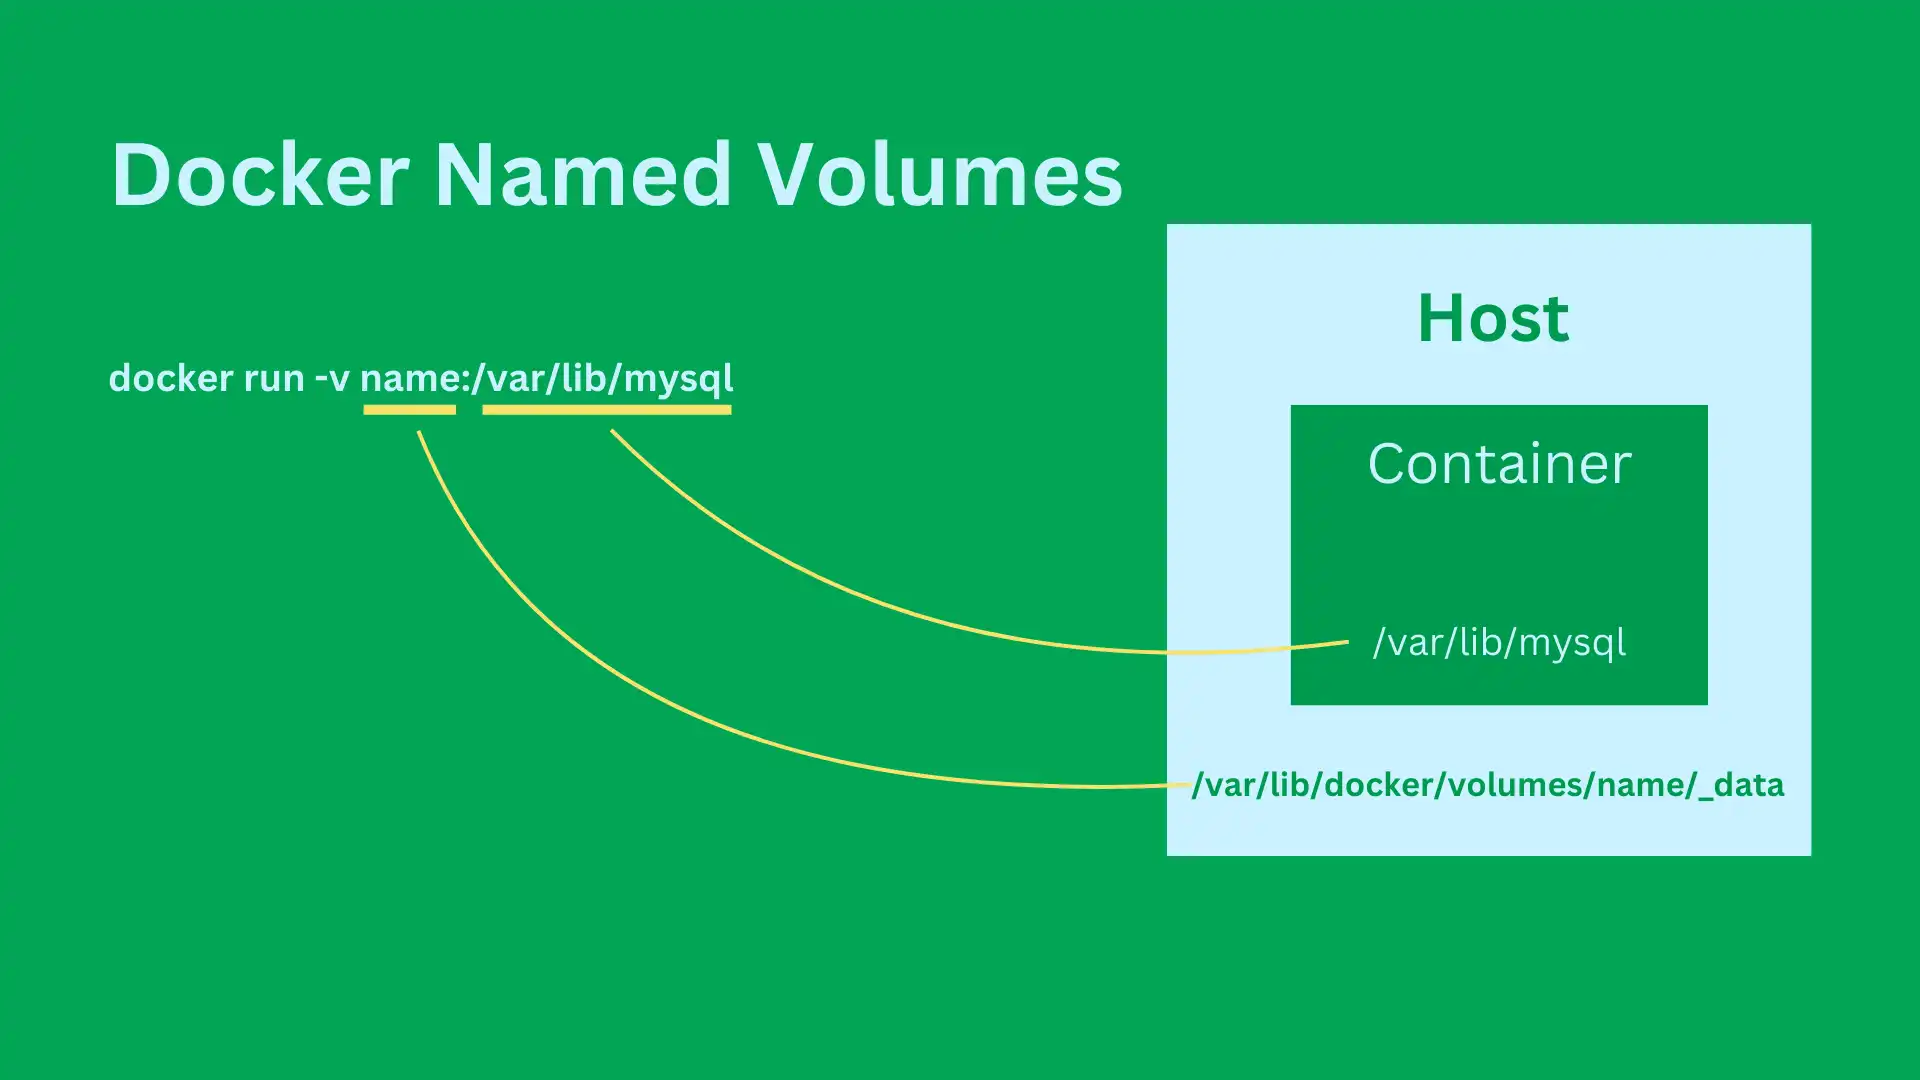
Instead of using a bind mount, we can use Docker-managed volume for storing MySQL data
Run a MySQL container using the volume name mount:
# Run MySQL with Volume Name Mount
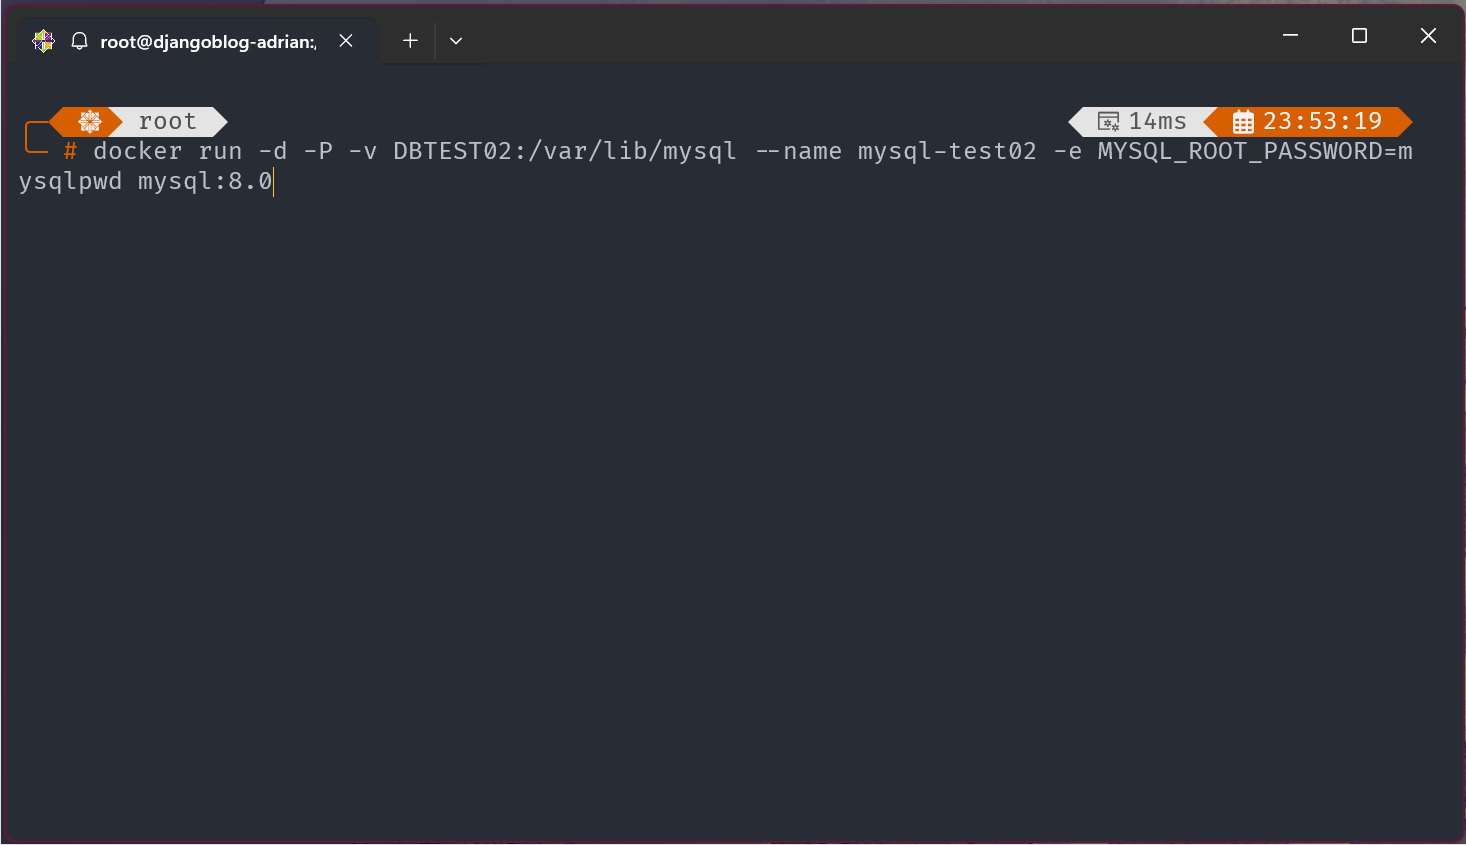
docker run -d -P -v DBTEST02:/var/lib/mysql --name mysql-test02 -e MYSQL_ROOT_PASSWORD=mysqlpwd mysql:8.0
The following commands above, Creates a Docker volume named DBTEST and mounts it to /var/lib/mysql inside the container. By default, Docker volumes are stored under /var/lib/docker/volumes/DBTEST02/_data.
Verify Volume Name Mount in Docker Inspect:
# Verify docker volume mount
docker inspect mysql-test02 | jq '.[].Mounts'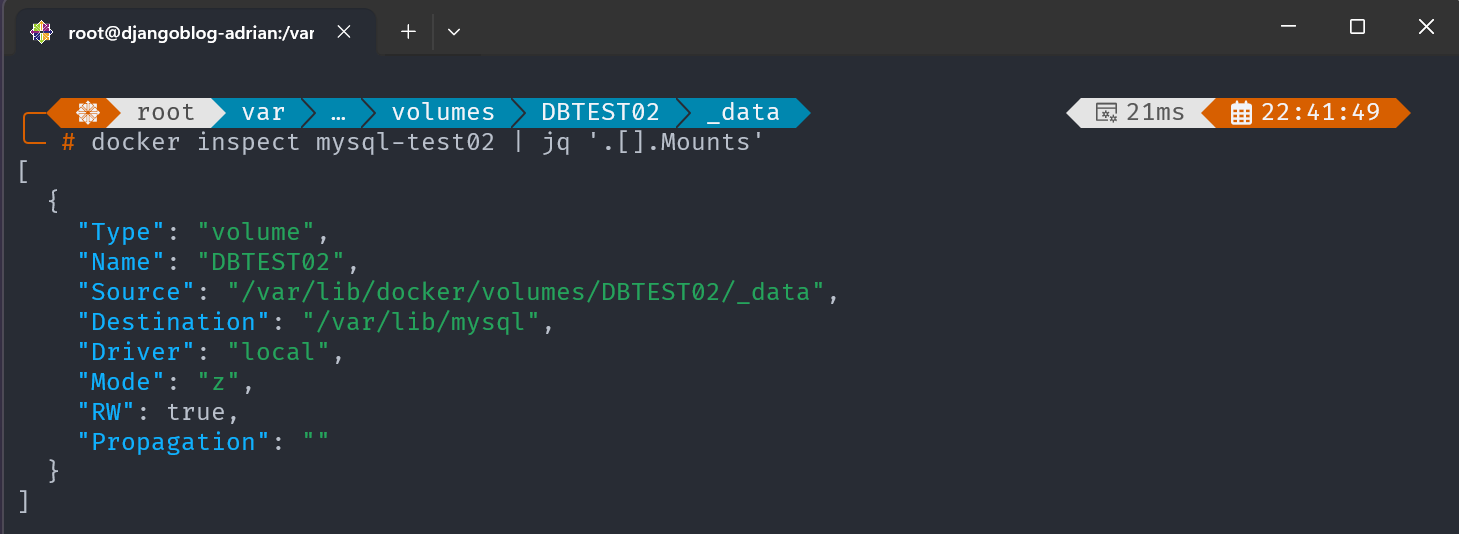
Wrapping Up
In this blog, we explored Docker volumes and how they enable persistent data storage for containers. We also examined bind mounts vs. volumes and walked through practical tasks to set up a MySQL container using both approaches.
In the next blog, we will dive into building Docker images, exploring how to create, manage, and optimize container images efficiently.
Day 21: Mastering Docker Volumes
Learn how to persist data in Docker using volumes and bind mounts, ensuring container storage remains intact.
For the passion of automated cloud solutions.
Subscribe to get the latest posts. I mostly write about Backend (Python/Bash), DevOps and Linux.