Day 24: Mastering Docker Compose
Mar 16, 2025
•09:22 PM GMT+8
In our previous blog(Day 22: Mastering Docker Building Images), we created a Docker image for the DjangoCrudAjax web application. However, if the container is removed, the application's data is lost due to the ephemeral nature of containers. To ensure data persistence and maintain the database after container restarts, we can utilize Docker Compose. This blog will demonstrate how to describe and manage a multi-container setup for Django and MySQL using Docker Compose.
What is Docker Compose?

Docker Compose enables the definition and management of multi-container applications. Its YAML configuration file streamlines the process of service setup by eliminating the need for manual execution of multiple docker run commands.
Key Benefits:
- Defines multi-container applications in a single file (
docker-compose.yml). - Manages networking, volumes, and environment variables seamlessly.
- Supports easy scaling and management with simple commands.
Task: Setting Up Django with MySQL using Docker Compose
We will continue from Day 22, where we built the DjangoCrudAjax web application. This time, we will:
- Add MySQL as a database.
- Configure Django to connect to MySQL.
- Use Docker Compose to manage both services.
Step 1: Install Docker Compose
Before proceeding, ensure Docker Compose is installed. If it is not installed, please follow there official link:
💡 In this tutorial, instead of
docker-compose, we use the commanddocker composesince Compose version 2.
Step 2: Clone the Django Web Application
Download the DjangoCrudAjax web application from GitHub:
Syntax:
git clone https://github.com/git-adrianrubico/DjangoCrudAjax.gitStep 3: Configure Django to Use MySQL
Modify settings.py to use MySQL as the database instead of SQLite. Replace the existing database settings with:
DATABASES = {
    'default': {
        'ENGINE': 'django.db.backends.mysql',
        'NAME': config('MYSQL_DATABASE'),
        'USER': config('MYSQL_USER'),
        'PASSWORD': config('MYSQL_PASSWORD'),
        'HOST': config('DB_HOST', 'db'),  # Default to 'db'
        'PORT': config('DB_PORT', '3306'),  # Default MySQL port
    }
}
Step 4: Create Dockerfile
Modify the Dockerfile to support MySQL.
# Use Python 3.14 slim as base image
FROM python:3.14-rc-slim

# Install MySQL dependencies
RUN apt-get update && apt-get install -y \
    default-libmysqlclient-dev \
    build-essential \
    pkg-config \
    && rm -rf /var/lib/apt/lists/*

# Create app directory
RUN mkdir /app
WORKDIR /app

# Set environment variables
ENV PYTHONDONTWRITEBYTECODE=1
ENV PYTHONUNBUFFERED=1
# Copy project files into container
COPY . /app/

# Install dependencies
RUN pip install --no-cache-dir -r requirements.txt

# Expose port 8000
EXPOSE 8000

# Entrypoint for executing commands
ENTRYPOINT ["sh", "-c"]

# Default command to run Django server
CMD ["python manage.py makemigrations && python manage.py migrate --noinput && python manage.py runserver 0.0.0.0:8000"]
Step 5: Create .env File
Create a .env file to store environment variables:
# MySQL settings
MYSQL_ROOT_PASSWORD=P@ssw0rd123
MYSQL_DATABASE=djdb
MYSQL_USER=djadmin
MYSQL_PASSWORD=P@ssw0rd123
Step 6: Update requirements.txt
Ensure requirements.txt includes the MySQL client library and python-decouple:
asgiref==3.8.1
Django==5.0.7
django-cors-headers==4.4.0
djangorestframework==3.15.2
mysqlclient==2.2.7
sqlparse==0.5.1
tzdata==2024.1
python-decouple==3.8.0
Step 7: Create docker-compose.yml
Define the services in Docker Compose:
services:
  db:
    image: mysql:8.0
    container_name: django_mysqldb
    restart: always
    volumes:
      - data:/var/lib/mysql
    environment:
      MYSQL_ROOT_PASSWORD: ${MYSQL_ROOT_PASSWORD}
      MYSQL_DATABASE: ${MYSQL_DATABASE}
      MYSQL_USER: ${MYSQL_USER}
      MYSQL_PASSWORD: ${MYSQL_PASSWORD}
    ports:
      - "3306:3306"

  web:
    build:
      dockerfile: Dockerfile
    container_name: django-crud-app
    restart: always
    ports:
      - "8000:8000"
    env_file:
      - .env
volumes:
  data:
Step 8: Build and Run Docker Compose
Run the following command to build and start the containers:
docker compose build
docker compose up -d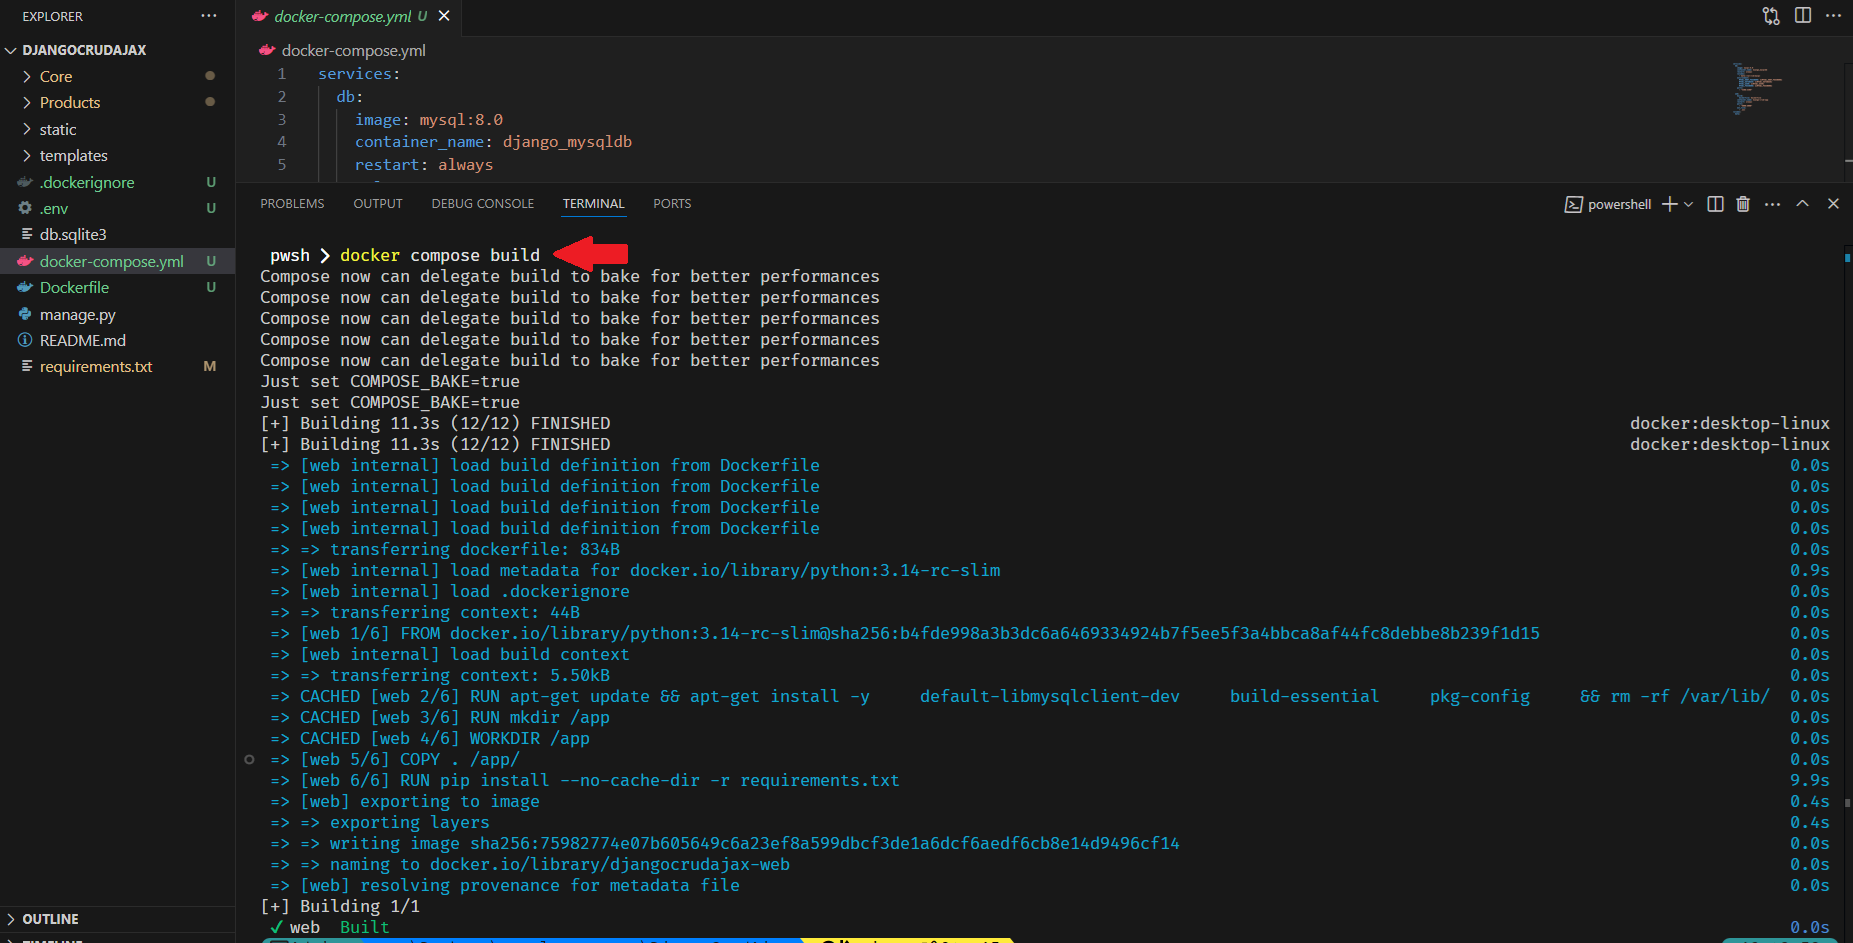

Verify the running containers:
docker compose ps
Step 9: Use the Django Web Application
Now, Open the browser and add some data. Then, confirm that the data persists:
http://localhost:8000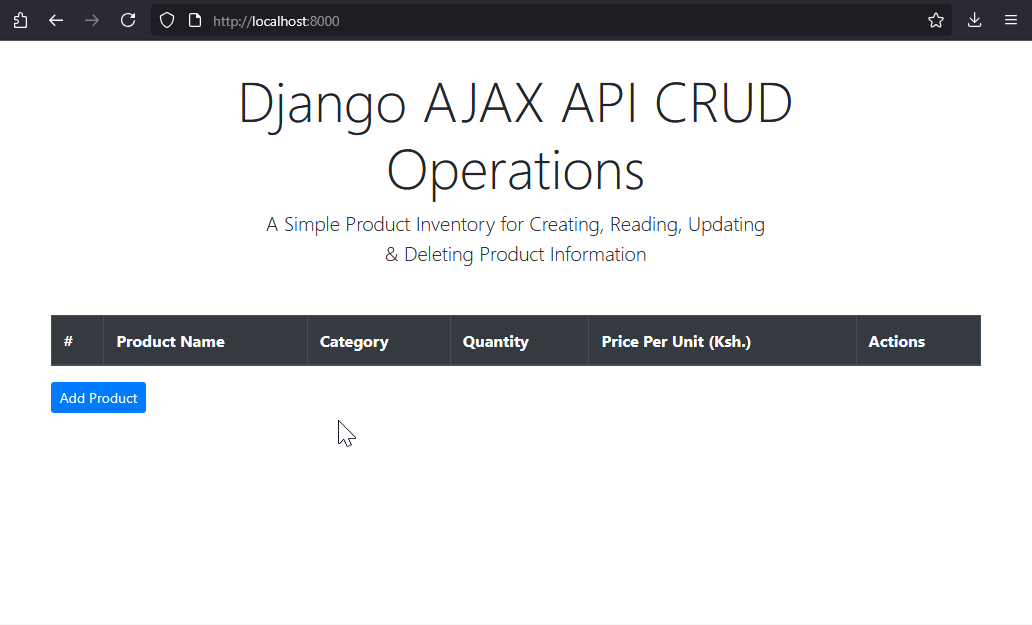
Step 10: Restart and Validate Data Persistence
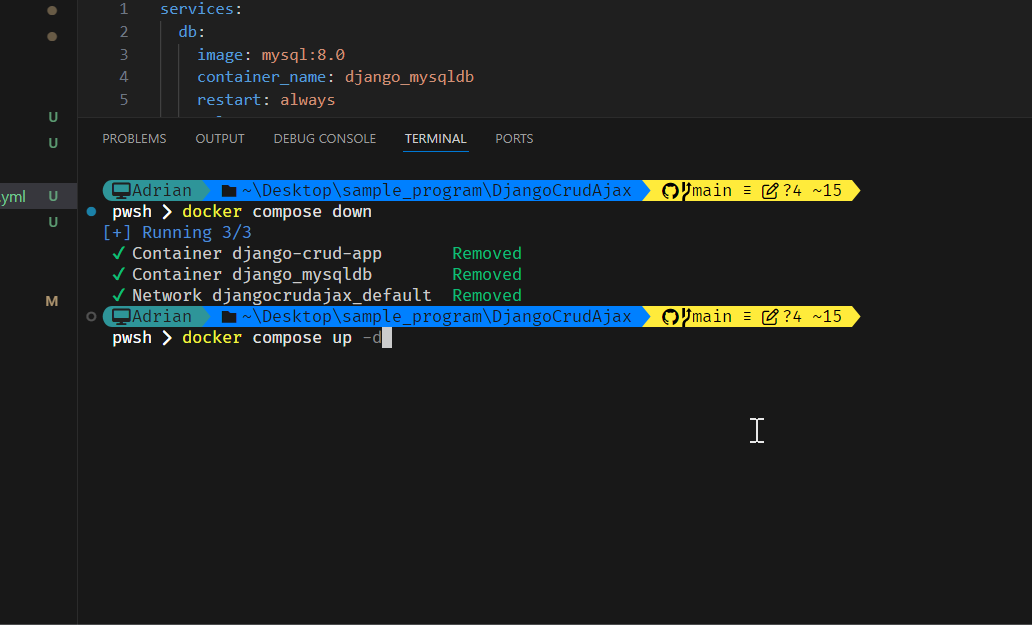
Stop the services and Start them again:
docker compose down
docker compose up -d
Check if the data is still available in the application.
Step 11: Modify the Web Application to Use Gunicorn
By default, Django runs with runserver, but we will change it to Gunicorn for better performance. Replace the last line in the Dockerfile with:
CMD ["python manage.py makemigrations && python manage.py migrate --noinput && gunicorn --bind 0.0.0.0:8000 Core.wsgi:application"]Add gunicorn in requirements.txt:
gunicorn==22.0.0Rebuild the image:
docker compose build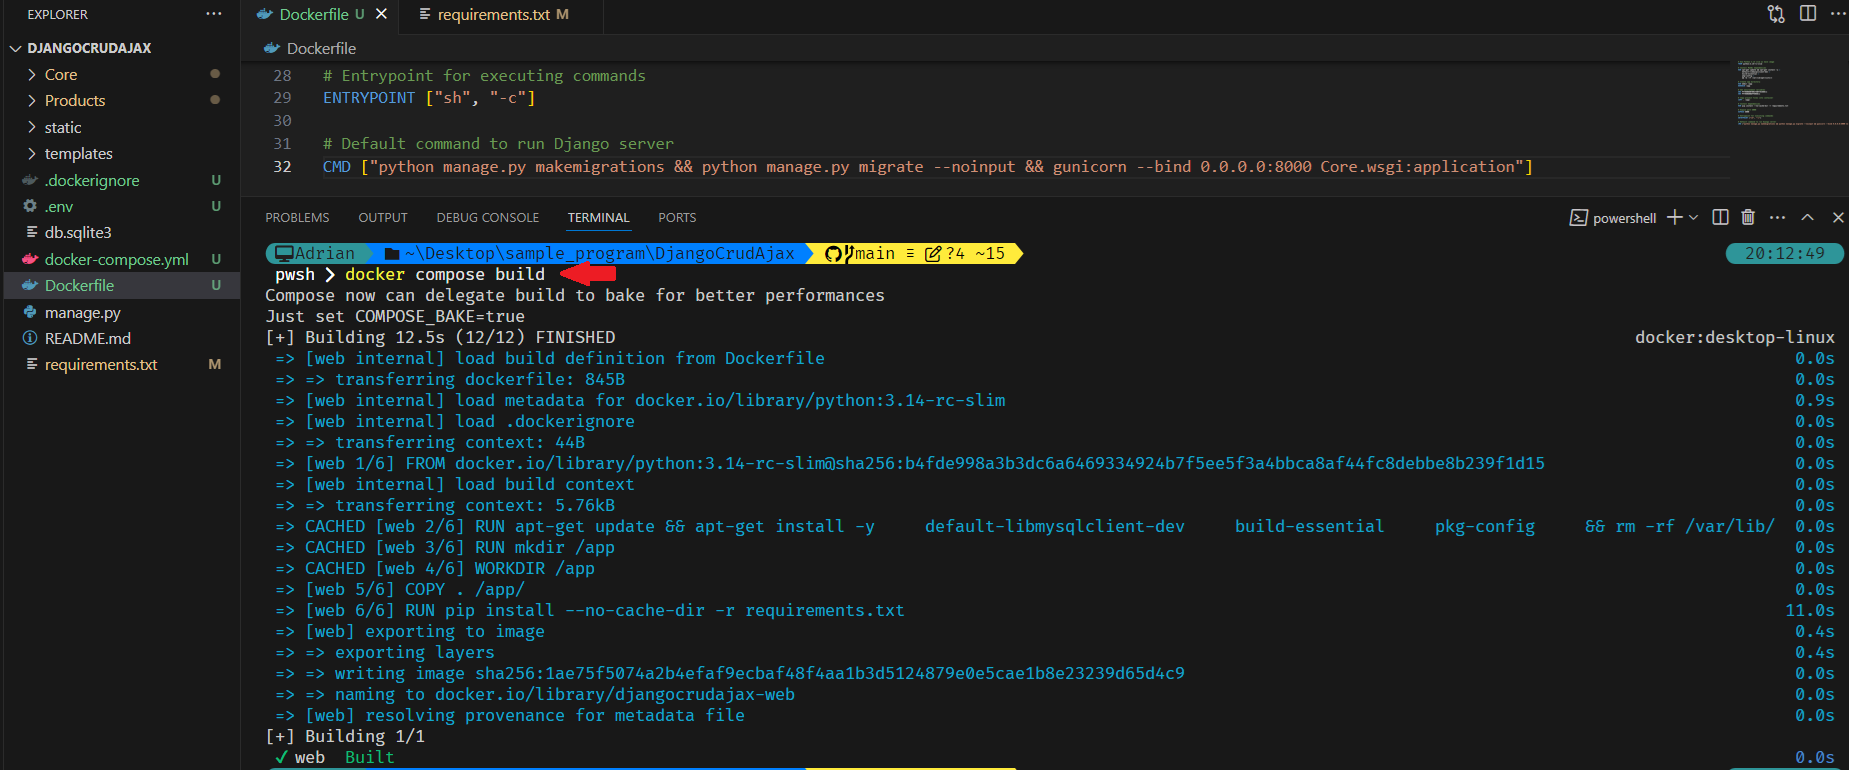
Restart only the web service:
docker compose up web -d --no-deps -t 1
Step 12: Clean Up
If you want to completely remove the database and all data:
docker compose down -v⚠️ WARNING: Running this command will delete all database data. Be careful before executing it.

Conclusion
In this blog, we learned how to use Docker Compose to set up a multi-container application, connecting Django with MySQL for persistent storage. We also explored environment variables, volume management, and improved the application setup by switching to Gunicorn.
Next, we will learn about multi-stage Dockerfiles to optimize Docker image builds. 🚀
Day 24: Mastering Docker Compose
Learn how to use Docker Compose to set up Django with MySQL, ensuring data persistence and optimized deployment.
For the passion of automated cloud solutions.
Subscribe to get the latest posts. I mostly write about Backend (Python/Bash), DevOps and Linux.